Shadow can add depth to photos. However, random shadows can ruin the quality of the image. Fortunately, with the help of Photoshop, it is possible to remove shadows and enhance the visual appeal of your pictures.
Whether you are a photographer or someone who enjoys capturing special moments, learning how to remove shadows in Photoshop can significantly improve the quality of your photographs.
Today, we will learn how to remove shadows in Photoshop easily by applying different methods.
Why You Should Remove Shadows from Photos
Shadows can have a dramatic effect on the overall composition of a photograph. They can create distracting elements, darken certain areas, and even obscure important details.
By removing shadows in Photoshop, you gain control over the lighting and mood of your images.
The removal of shadows allows you to improve the overall clarity and visibility of your subject. It enhances the fine details, textures, and colors, resulting in a professional and visually appealing photo.
Whether you are working on portrait photography, product photography, or any other genre, removing shadows can make a significant difference in the outcome.
How to Remove Shadow in Photoshop
There are several ways to remove shadows in Photoshop. In this tutorial, we will use 3 different Photoshop tools to remove shadows.
- Content-Aware Tool
- Dodge and Burn Tool
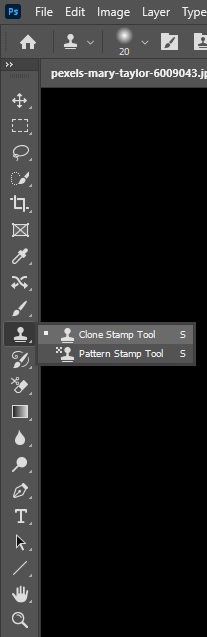
- Clone Stamp Tool
How to remove shadow in photoshop using the Content-Aware tool
Step 1: Open Image and Duplicate Layer
Launch your Photoshop and open your image. To open your image, go to File > Open.
Now, duplicate the background layer so that you can use it later if needed. Select the layer and right-click on your mouse. Here, click on the Duplicate layer option. Then, you can see a popup window. Set a name and click OK.

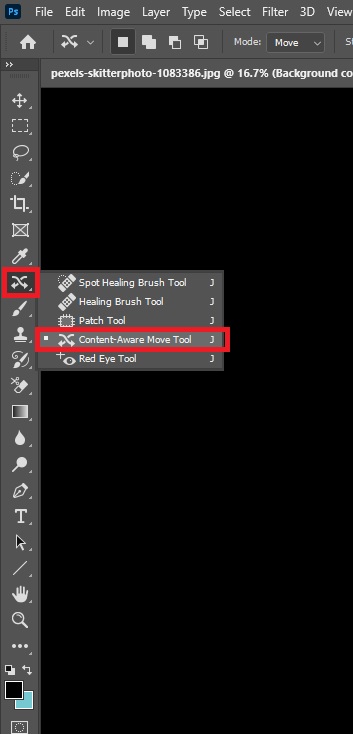
Step 2: Select the Patch Tool
Now, select the patch tool located in the toolbar. Press J from the keyboard to select the tool. You may not find it because it is grouped with the healing brush tool. So, select the group, right-click your mouse, and then select the tool.
Step 3: Removing Shadows
Now, select the shadow that you want to remove. I will remove the tree shadow you can see in the image below.
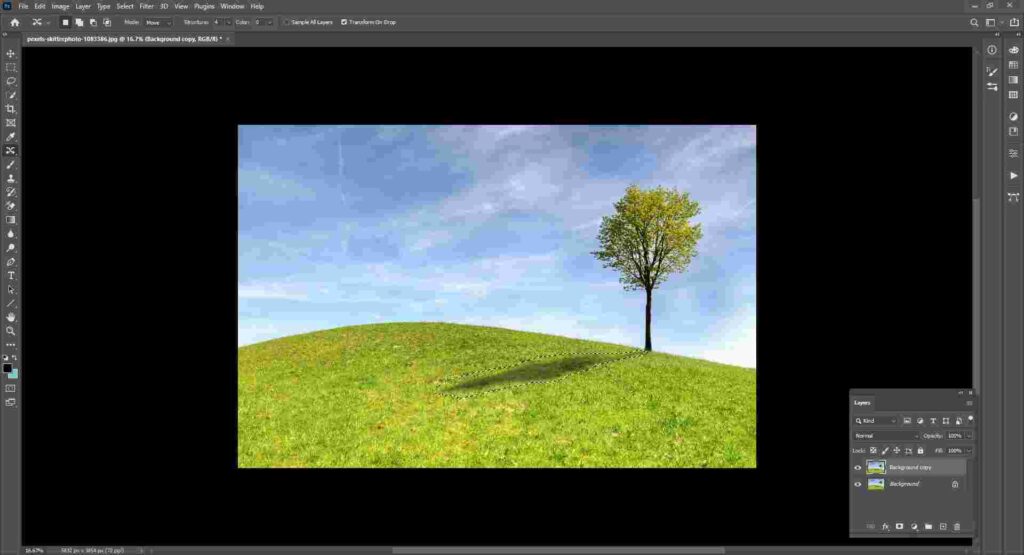
Drag the selection area to a similar area. Find out the best place matched with the selected area. Then, move the selection to a similar area and leave it.
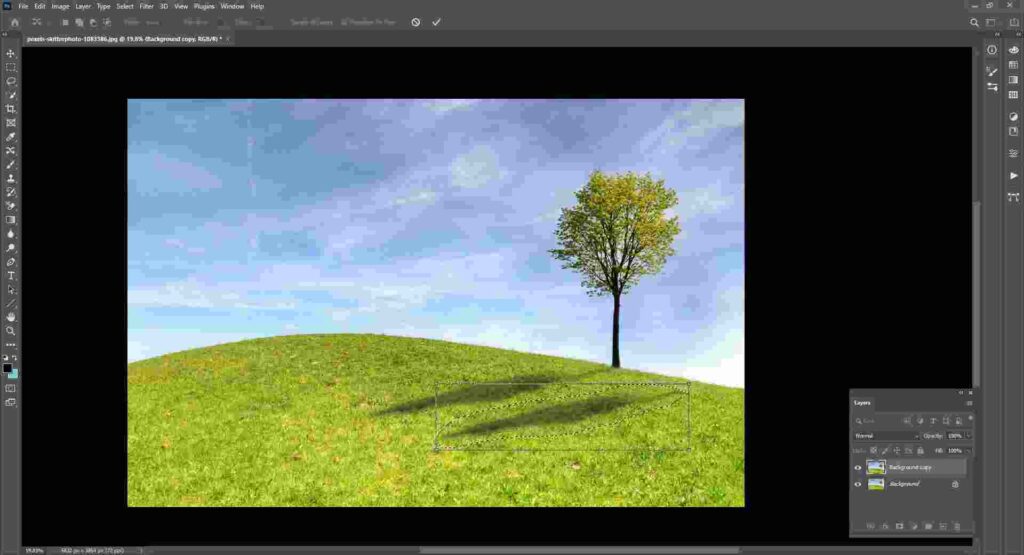
Here, you can see the selection is freely transformed. Click the corner and make it smaller. Then, press Enter. Photoshop will make it smooth.
If you’re not getting the desired look you want, experiment with the Structure and Color options in the option bar. You can define how closely Photoshop should match the texture by Structure. With color, decide how much color mixing you want.
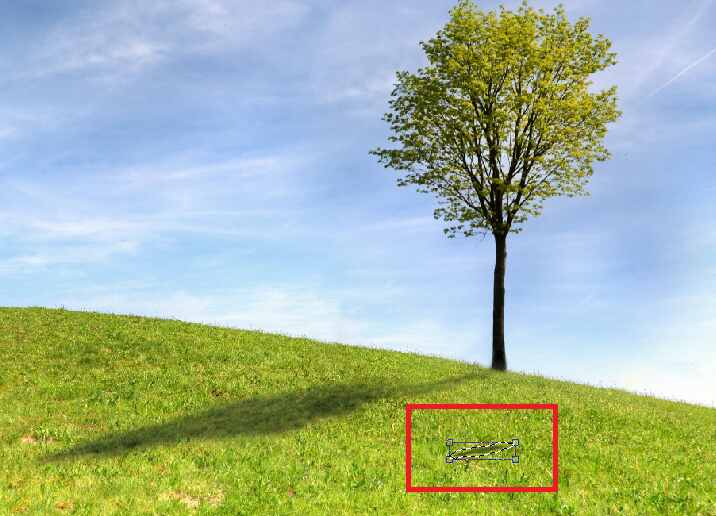
After that, you can see the shadow is removed. For example, see the image below, the shadow is perfectly removed

How to remove shadow in photoshop using the Clone Stamp tool
Step 1: Open Image and Duplicate Layer
To open your image, go to File > Open.
Duplicate the main layer so that you can use it later. Select the main layer and right-click on your mouse. You can see some options are visible. Now, click on the Duplicate layer option. Then, you can see a popup window. Set a name and click OK.
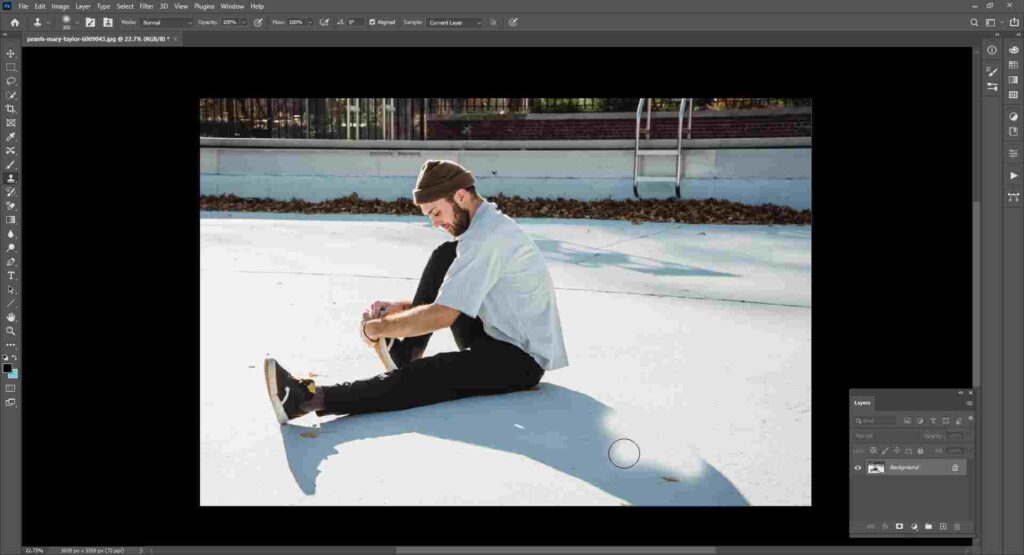
Step 2: Tool Select and Set Up
Now, select the Clone Stamp tool. You can select the tool by pressing S from the keyboard.
Set the brush size and hardness from the option bar. To smaller the brush size, press [, and to bigger brush size, press ] from the keyboard.
Adjust the opacity and flow level. We recommend Opacity and Flow depending on the image’s need. For example, we set both opacity and flow level to 100. We check the Aligned option here. You can experiment with the Aligned option.

Step 3: Select Clone Source
Select a perfect area to make a clone source. To select the source, press and hold the Alt key, then click that area where you want to make a clone source. After selecting the clone source, you can see the selected pixels in your cursor. Now, paint over the shadow until the shadow is removed, ideally.
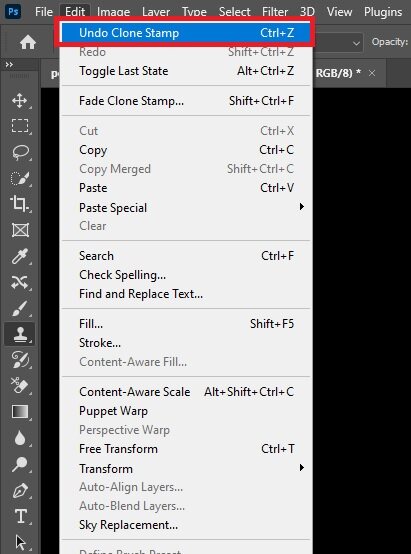
If you make a mistake and need to go back to a step, go to Edit > Undo Clone Stamp Tool. Alternatively, you can also use the Ctrl+Z shortcut to undo any step.
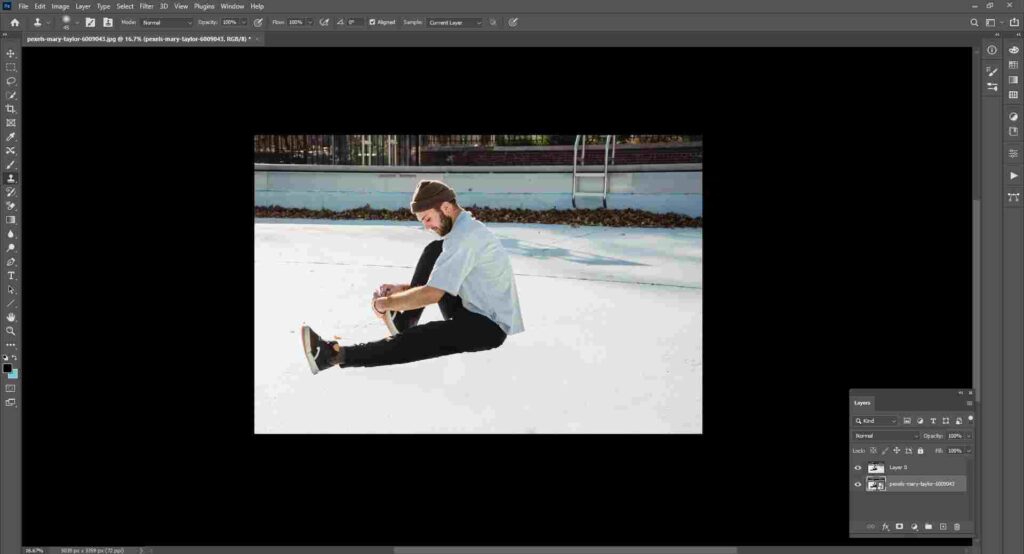
Remember, use multiple clone sources to get the best result. If your paint looks unnatural, go back and select another clone source, then paint again.
You can see the image below we removed the shadow without distracting the subject
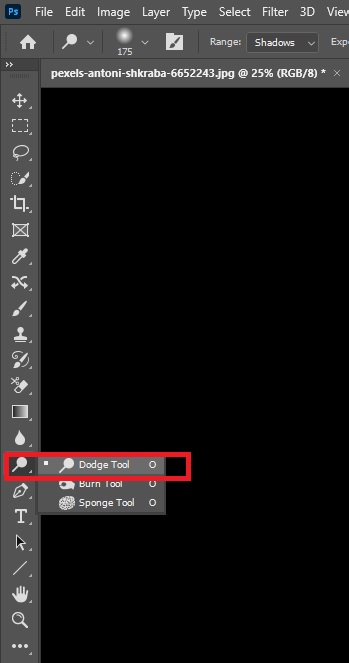
How to Remove the shadow in photoshop using the Dodge tool.
Step 1: Open Image and Duplicate Layer
Go to File > Open to open your image. Now, make a duplicate layer of your background layer. Right-click on your main layer and click Duplicate Layer, then set the name and press OK.
Step 2: Tool Select and Setup
Select the Dodge tool from the toolbar. You can also select the Dodge tool using the O Keyboard shortcut.
After selecting the tool, go to the options bar and set it up. You can see 3 Ranges: Shadows, Midtones, and Highlights. Choose the correct mode that you need. For example, we will use Range: Midtones; Exposure:78%;

Step 3: Paint over Shadows
Now, paint over the shadow that you want to reduce. Zoom in your image for the best work. If you see that the result is not perfect, then change the mode and exposure and experiment with your image.

If you do have any mistakes and need to undo any steps, press Ctrl+Z.
The final touches: adding natural lighting to your edited image
Now that you have successfully removed shadows from your image. It’s time to add some natural lighting to bring your edited image to life. Adding natural lighting can enhance the overall appearance and make your subject look more realistic.
The option is to use adjustment layers, such as curves or levels, to fine-tune the brightness and contrast. By carefully adjusting these settings, you can get a natural look and make your subject blend seamlessly with the background.
Remember, subtlety is the key when working with natural lighting. It’s vital to ensure that the added lighting looks natural and balanced. Take your time and experiment with different techniques until you achieve the desired effect.
Conclusion
By removing shadows in Photoshop, you can easily create attractive images. However, you may not get satisfied results in first time.
With time and dedication, you will become more proficient in this aspect of photo editing. So, keep practicing, stay creative, and enjoy the endless possibilities that Photoshop offers.