Clipping Path Service & Ecommerce Photo Editing Solution
Pixel Perfect Editing, On Time, Every Time
OUR STRENGTHS
Our pricing plan is very transparent, and no hidden cost is included. We only accept payment when our customers become happy with our service.
Moreover, our support team works 24/7 to provide dedicated support to our clients. You will be in touch when our editing team works on your project.
Our strong data security system ensures your images will be safe with us. We value each project equally. Whether it is a few image projects or larger projects, you will receive pixel-perfect results on time, every time.

50+ skilled Photo editors

24/7 customer support

100% Satisfaction Guarantee

On Time Delivery

Pixel Perfect Editing Everytime

1000+ Image Processing Capacity daily
WHY CHOOSE US
At Clipping Path Action, we focus on precision and reliability. We provide hand-drawn clipping path services and e-commerce image editing services. Our professional team ensures pixel-perfect results in each image.
Affordable Pricing
Our basic image clipping service costs $.30 for each image. However, we always suggest using our free trial options to know the actual pricing for your project. Actual pricing may vary depending on image complexities, volume, and turnaround time.
High-Quality Results
We have a dedicated team for hand-drawn photo clipping services. And for monitoring, we have 5 team supervisors. They always instruct team members to ensure better quality results. Our advanced team handles all advanced editing like retouching, manipulation, mannequin removal, shadow creation, and more. Thus, we provide high-quality results on time, every time.
Fast Turnaround Times
Our standard delivery times for each project are 24 hours to 48 hours. You will receive files within this turnaround time. However, we can deliver projects within 6 hours if you need faster service.
Dedicated Customer Support
Our human customer support team works 24/7 to provide better customer experiences. You can contact us any time on any day.
Experience and Reliability
We’ve earned our reputation as a top photo editing company. Clients trust us for consistent quality and reliable service. Our team has combined 100+ years of experience in image editing services.
Best Clipping Path Service provider

Basic Clipping Path
Editors often call it a single-layer clipping path. These images are very straightforward, rectangular, and circular. Editors require only one layer for outlining.
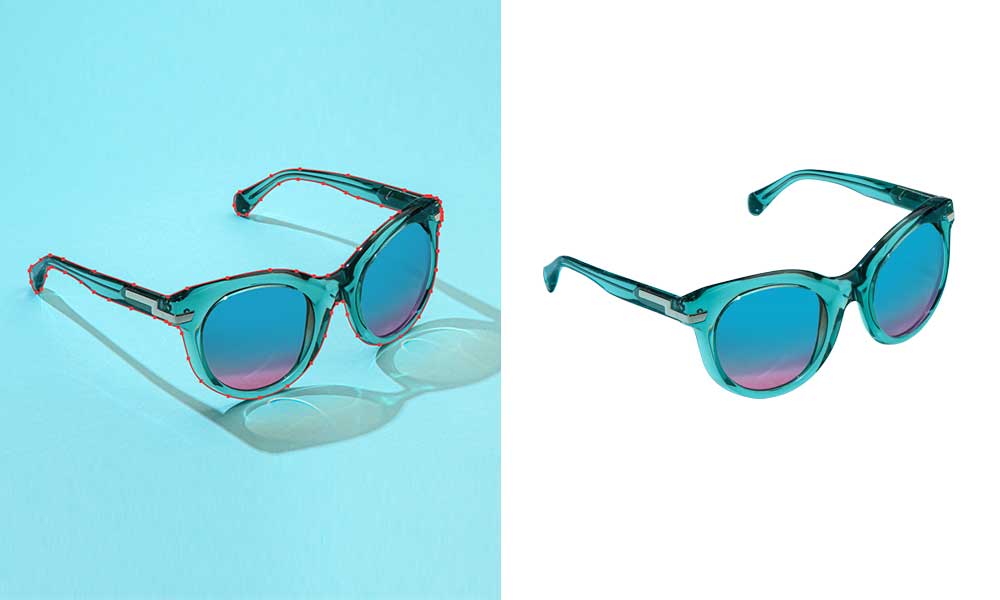
Simple Clipping Path
It is almost the same as the basic clipping path. The only difference is these images may contain some holes, and we may need to add one or two layers for outlining.

Medium Clipping Path
If the product images have several curves, holes, and twists, we often need more anchor points than simple images for clipping service.
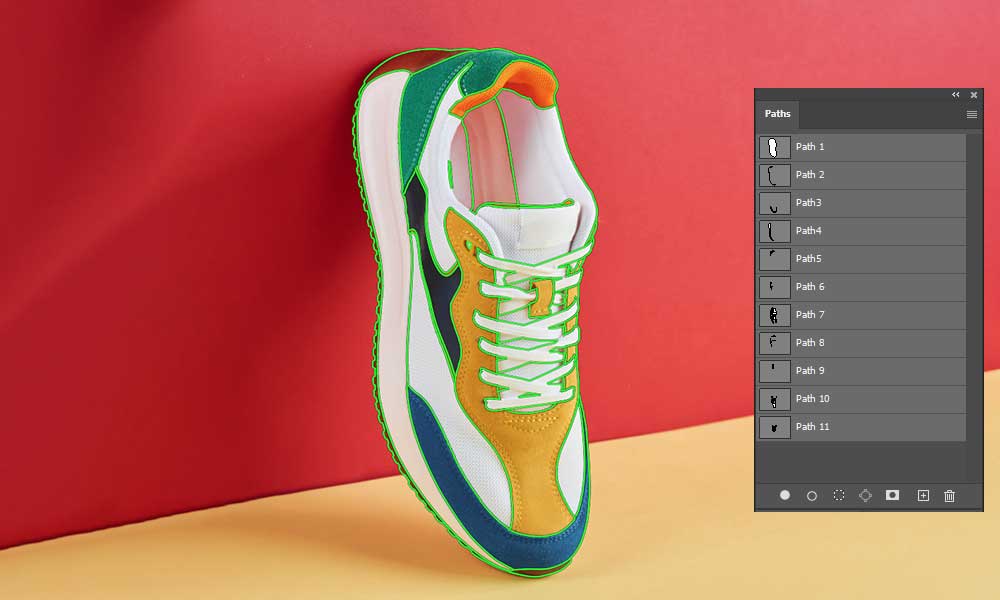
If we need to separate each element of a particular image, we create separate layers for each element. Generally, image editors call it multi clipping.
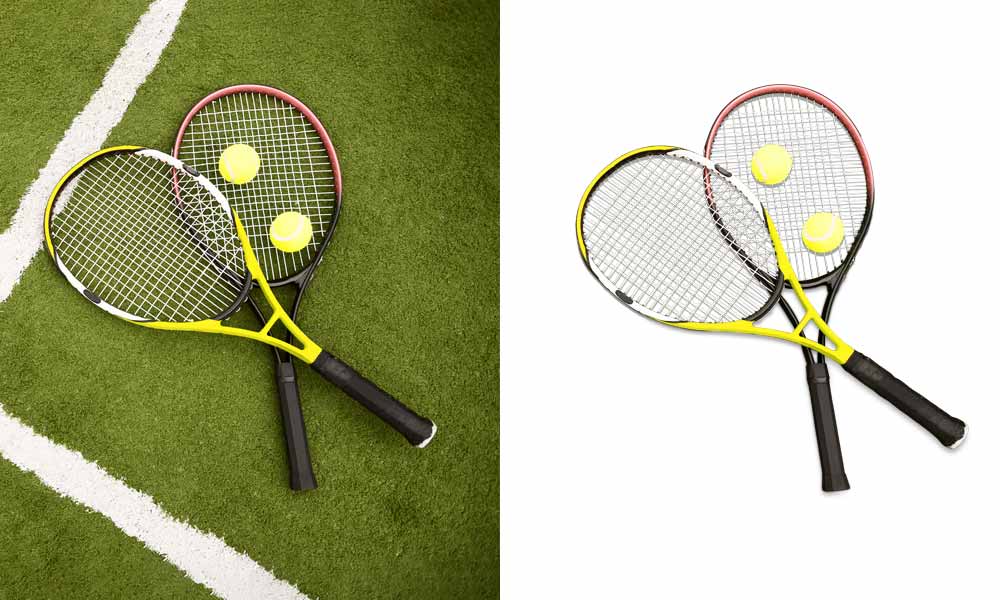
Complex Clipping Path
These images contain many holes, complex shapes, and curves. If the image contains more than ten holes and many closed paths, we set it in a complex clipping path.

Super Complex Clipping Path
The difference between complex and super complex is using anchor points. The holes, curves, and closed paths are uncountable in super complex images.
How CPA Works
Trial Evaluation
We offer a free trial for each new client. They can evaluate our quality & capacity before making agreement
Agreement
We and our clients agree on the project. It includes project details, delivery time, pricing, and more.
Work Deliver
After finishing, we will deliver it to our clients for review. If everything is fine, they approve it.
Make Payment
After client approval, we create an invoice and send it. Finally, they pay us for the service.
Great visuals sell. We make sure yours stand out in every scroll.
Photo Editing Services We Provide

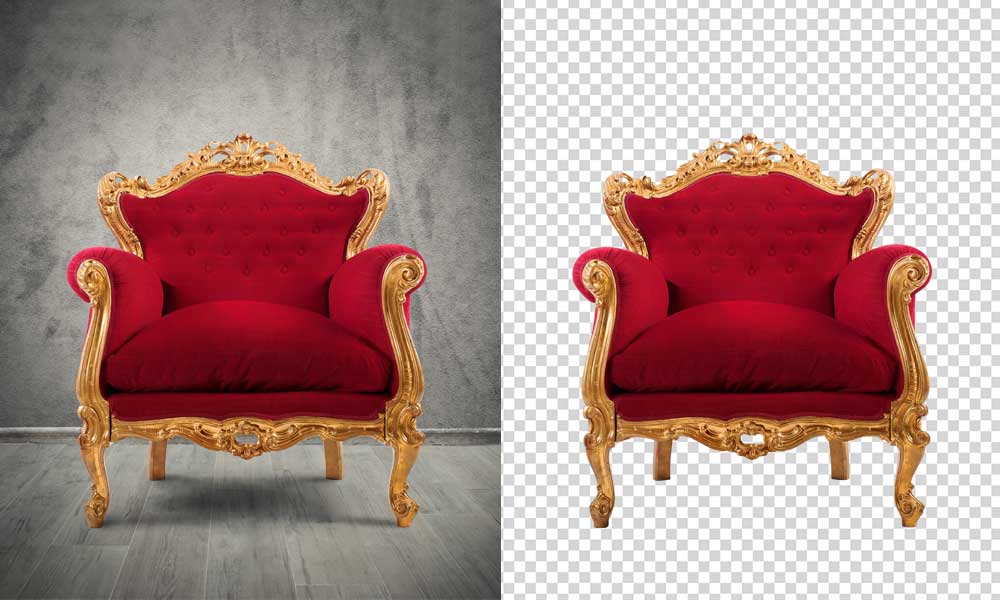
Background Removal
We provide background removal and background replacement services with pixel-perfect editing. Here, we apply image clipping, image masking techniques, and sometimes both to get the best results.
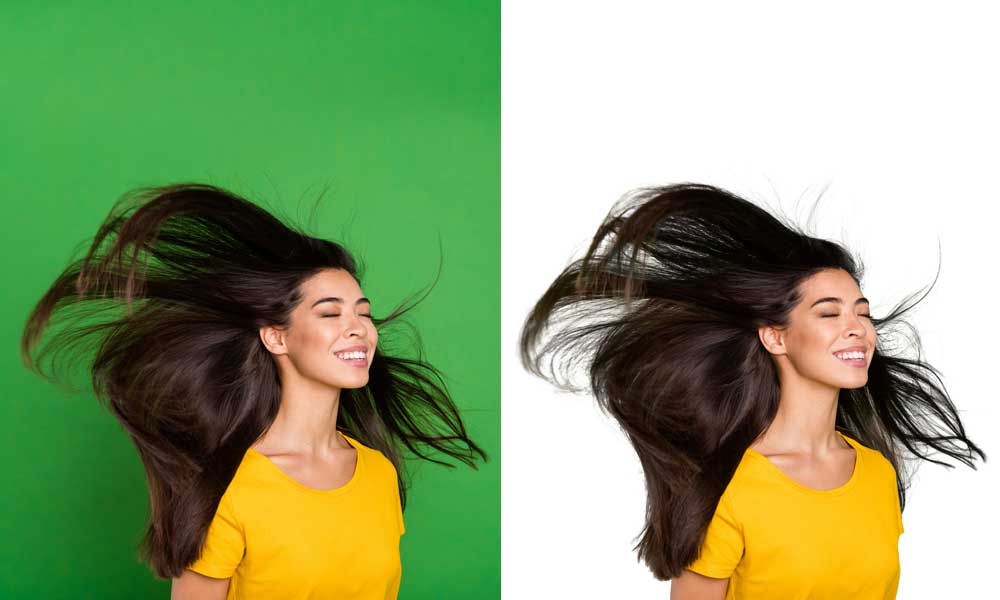
Image masking
With the masking technique, we handle complex images with intricate edges. We create smooth transitions that keep your subjects looking sharp and clear. This service is perfect for products with fine details, such as hair or lace.

Ghost Mannequin Effect
Our Ghost Mannequin Effect Service helps you showcase apparel in a clean, 3D, and professional style—without visible mannequins. We give your clothing a natural shape.

Color Correction
Our Color Correction Service ensures your images have the perfect tone, balance, and consistency. Whether it’s adjusting brightness, contrast, or matching brand colors, we fine-tune every detail.

Our Photo Retouching Service enhances images by removing flaws, improving skin tones, and refining every detail. From beauty shots to product photos, we make your visuals look clean, natural, and professional.
Start Your Free Trial in Here
You can upload maximum 3 files as a free trial. Proper instructions help to deliver the best results
Frequently Asked Questions
What is clipping path service?
Clipping path service is a photo editing technique used to isolate the background from an image. It involves drawing a precise outline (or “path”) around the subject using the Pen Tool in Photoshop. This allows for clean image cut-outs, background changes, or placing the subject on a transparent or new background.
Why should you outsource image editing service?
Outsourcing image editing services saves you time, reduces costs, and ensures professional results without needing in-house resources.
You get access to skilled editors who can handle bulk work with speed and precision. It lets you focus on growing your business while experts deliver high-quality, polished images.
Can you handle bulk orders ?
Yes, we can handle bulk orders. Whether you need a few images edited or a large batch processed, we have the capacity and expertise to handle the workload efficiently.
Which file formats do you allow?
We allow various image file formats like JPG, PNG, PSD, and TIFF. You can send any type of format mentioned here.
What is the maximum file size I can upload?
The file size should not be over 64 MB.
I need fast service, can you do it?
Yes, We can provide faster service. However, you must inform it before working on the project. Otherwise, you will receive files maintaining standard delivery times.
Testimonials
A great collaboration with clipping path action. After a clear explanation, from my side, we always end up with the desired result. This cooperation is there fore worth repeating and will remain a long-term co-operation for the time being.
Pippa Molenaar
Product Photographer, California, USA
They provided an excellent service, their communication was superb and the final product was just as I requested. They were also very helpful when I ask for something outside the original scope of work. I highly recommend his services and I will be using them again
Raiden Patterson
Product Photographer, New York, USA
As usual very attention to detail and what I asked to do! Thank you so much again for your help on get my work better!
Arthur Jackson
Fashion photographer, Australia
Excellent job as always. This was a very important rush order and the photos where done perfectly and very quickly.
Ada Rogers
Photographer, England
Was precise and delivered very high quality work. Would highly recommend for anyone looking for background removal!
Riley Smith
Commercial photographer, USA
Excellent communication and follow up, work looks great as always - thank you!
Camila Davis, UK
Wedding photographer
The quality and attention to detail were outstanding. They've become an essential part of our workflow.
Tom H
Photographer
Working with Clipping Path Action was seamless. Their support team was always available, and the results exceeded our expectations.
Emily R
Marketing Director
WhatsApp us
