In today’s highly competitive online market, product photography plays a crucial role in influencing consumer behavior and driving sales. A visually appealing and well-shot product photograph can make all the difference in converting a potential customer into a paying one.
However, creating stunning product photography that stands out from the rest requires a certain level of expertise, knowledge and product photography ideas. In this article, we will discuss five essential product photography tips that can help improve your conversion rates and give you an edge in the highly competitive e-commerce landscape.
From choosing the right lighting to incorporating creative styling techniques, these photography tips are designed to help you capture your product’s unique qualities and showcase them in the best possible light.
So, whether you’re a seasoned e-commerce seller or just starting these product photography tips will help you create images that not only look great but also help you drive more sales. These product photography tips help beginner as well as advanced photographers to grow photography business.
5 Product Photography Tips You Must Follow for Better Photoshoot
Lighting is a Critical Factor
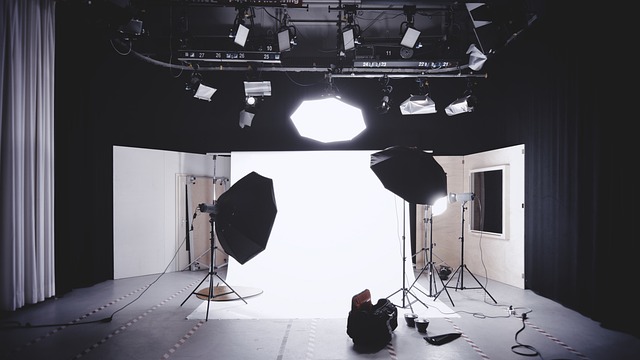
Lighting is one of the most critical factors to consider when it comes to product photography. It can make or break the overall look and feel of your images. Ultimately, it influences a consumer’s purchasing decision. There are several factors to consider when it comes to lighting for product photography, including the type of lighting, its intensity, and its placement.
- Lighting Types: Generally, there are two types of lighting – natural and artificial. Natural lighting, such as sunlight, can create a soft, warm effect that is ideal for products with natural textures, such as wood or fabrics. Artificial lighting, on the other hand, which you can control more precisely and can create a clean, crisp look that is ideal for products with clean lines, such as electronics or jewelry.
- Lighting Intensity: Too much light can cause overexposure and harsh shadows, while too little light can result in a dull and unappealing image. It’s important to strike a balance between the two, and use light in a way that enhances the product’s features.
- Lighting Placement: The placement of the light is critical to creating the desired effect. Different placements of light can create different effects, such as highlighting specific features or creating a sense of depth. For example, placing a light source on the side of the product can create shadows that add depth and dimension to the image. You must do a light setup perfectly for a great photoshoot.
In conclusion, lighting is a critical element of product photography that can significantly impact the overall look and feel of your images. By considering the type, intensity, and placement of your lighting, you can create stunning images that showcase your products in the best possible light and drive more sales.
Use Tripod for Photography
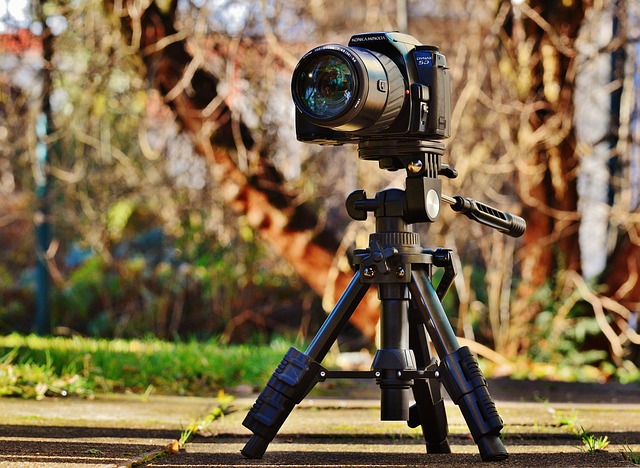
Using a tripod for product photography can make a significant difference in the quality of your images. A tripod provides a stable base for your cameras, reducing camera shake and producing sharper, more consistent images. It also allows you to take your time with each shot and make fine adjustments to the composition and focus.
When using a tripod for product photos, it’s essential to choose one that is sturdy and reliable. A lightweight or flimsy tripod may not be able to support the weight of your camera and lens, resulting in blurry images. Look for a tripod that can support at least twice the weight of your camera and lens.
Tripod allows you to shoot at slower shutter speeds without worrying about camera shake. This is especially important when shooting in low light conditions or when using a narrow aperture for greater depth of field. With a tripod, you can achieve sharp, detailed images even in challenging lighting conditions.
Another benefit of using a tripod for product photography is that it allows you to compose your shots more precisely. By adjusting the height and angle of the tripod, you can create a more flattering composition and focus on the product’s key features. You can also take multiple shots with minor adjustments to achieve the perfect angle and lighting.
Finally, using a tripod for product photography is a simple yet effective way to improve the quality of your images. It provides a stable base, reduces camera shake, and allows you to take your time with each shot to achieve the best possible result. By investing in a sturdy tripod and taking the time to compose your shots carefully, you can create stunning product images that will capture your customer’s attention and drive sales.
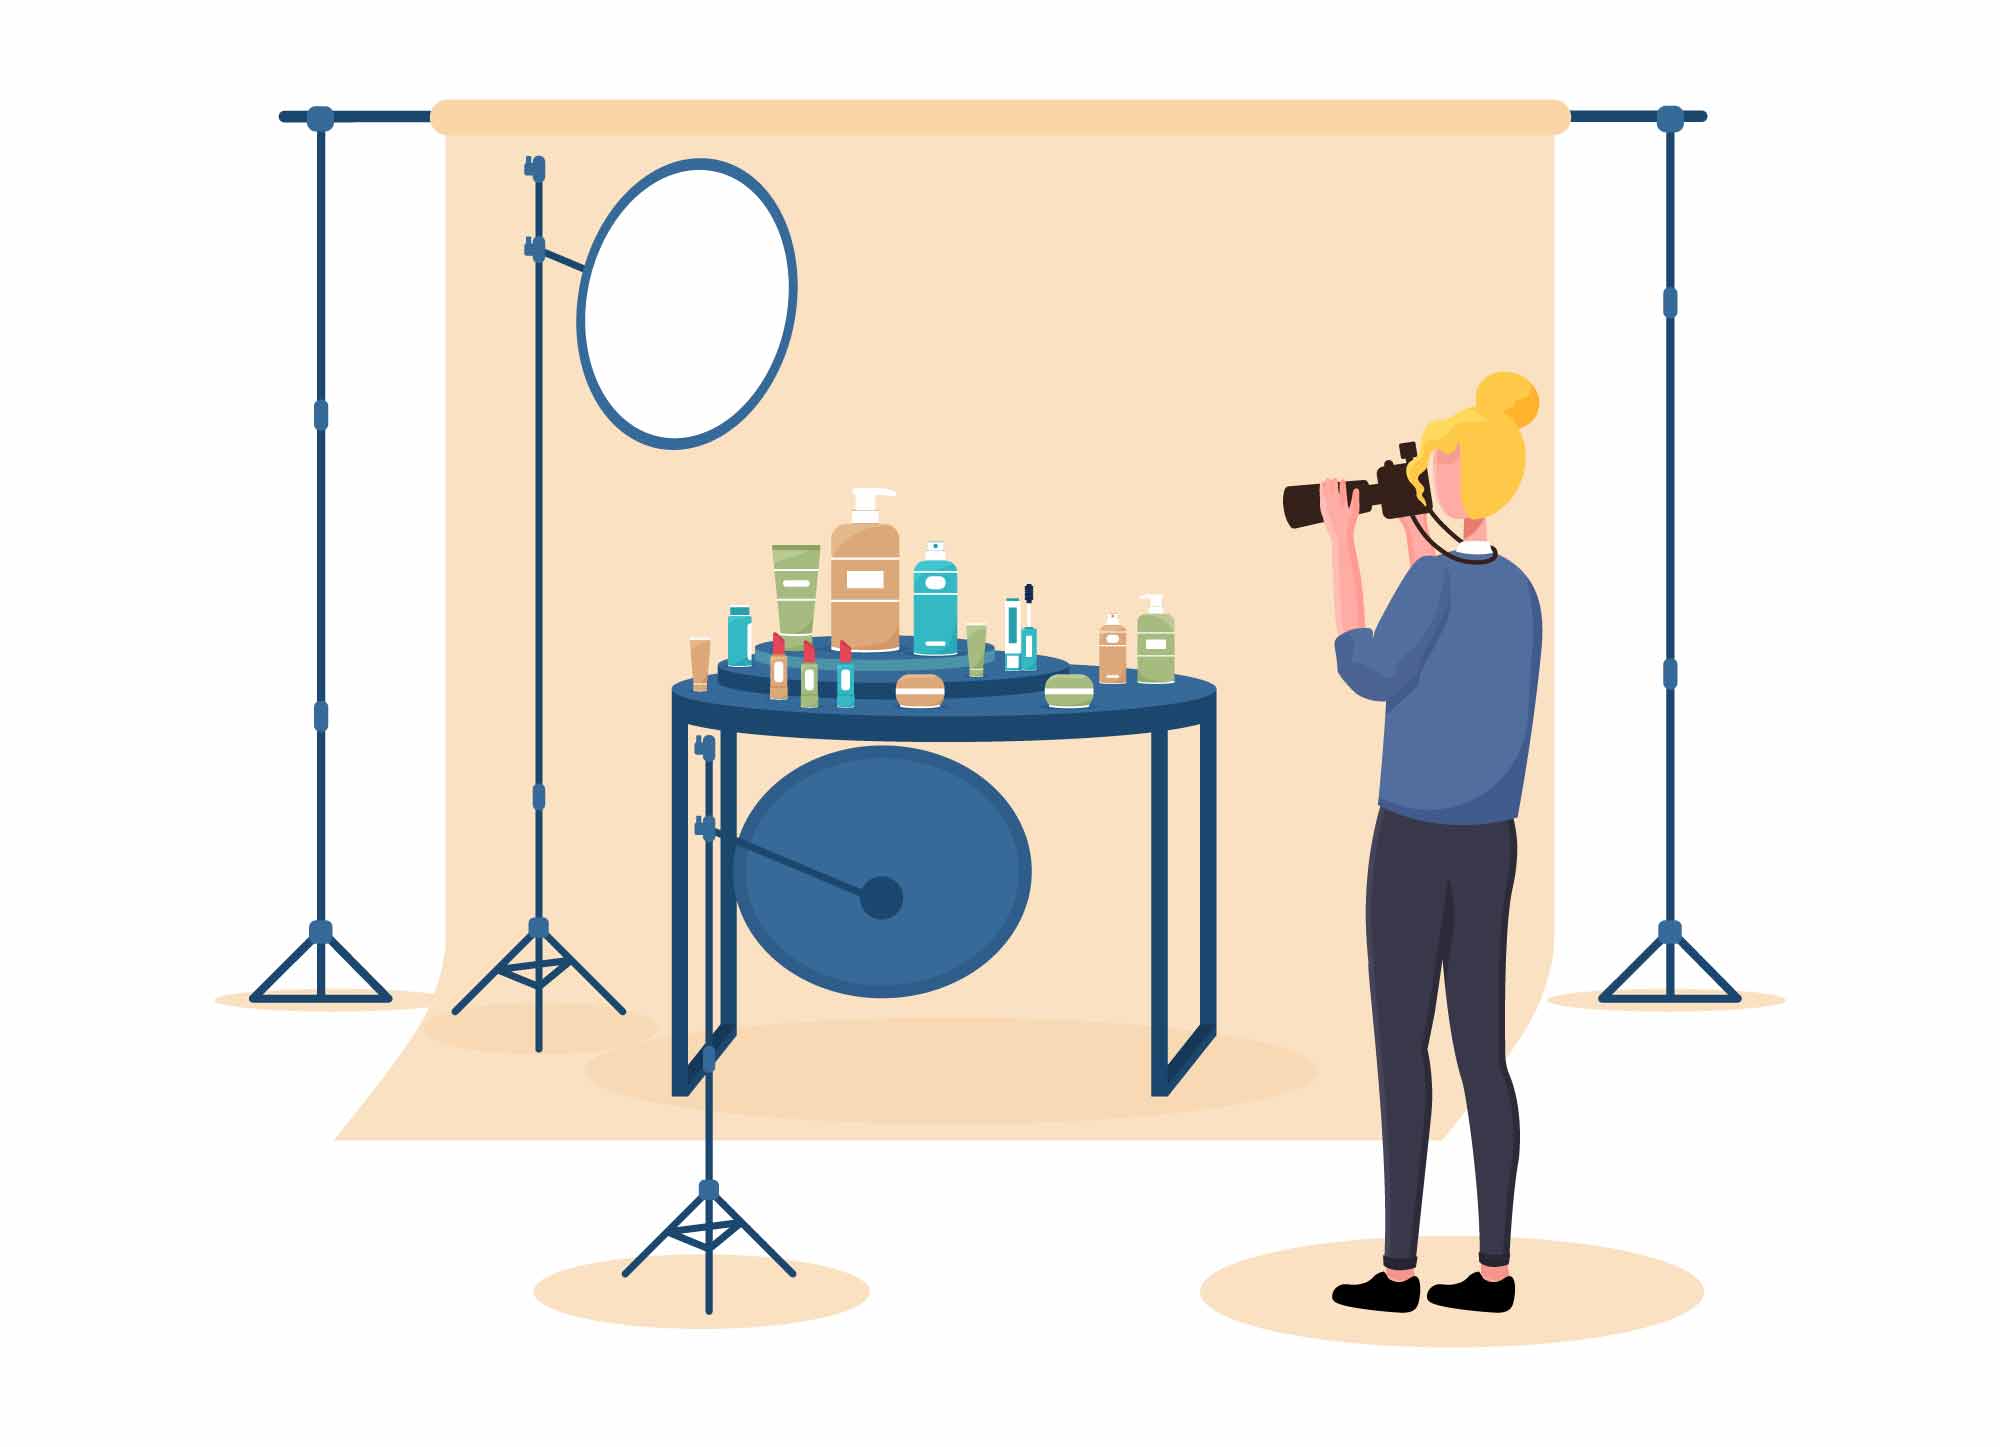
Use basic props for product photography
Props can add interest and context to your images, making them more engaging and attractive to potential customers. It helps to highlight the product, providing additional visual cues to convey its unique selling points.
However, it’s important to select items that complement and enhance the product, rather than detract from it. Simple, neutral props such as white or black backdrops, wooden or marble surfaces, or greenery can create a clean and sophisticated look that emphasizes the product’s details and texture.
Moreover, you can use props to create a sense of scale or to demonstrate the product’s usage. For example, a hand or arm holding the product can show how it fits in the user’s hand or demonstrate its size in comparison to other objects. Adding complementary items, such as a book or a coffee mug next to a product, can suggest how the product could be used in a real-life setting.
However, it’s important not to go overboard with props and accessories, as this can distract from the product itself. The product should always be the main focus of the image, and any props or accessories should be used to support and enhance the product’s features, rather than overshadowing them.
Product Image Optimization
Image optimization is crucial for product photography as it can significantly impact the speed, quality, and search engine visibility of your images. Optimizing your images involves several steps, including product photo retouching, cropping, resizing, compressing, color correction, and more.
Product photo editing is vital for displaying attractive visualizations. You must upload clean product images with white or brand-colored background and remove any elements that can distract customer’s attention. Whether you do it or outsource it from specialist.
Resizing the images to the correct dimensions is important for your website or platform. Large images can slow down page load times, so it’s important to resize them to a size that is appropriate for your website. This will not only improve page load times but also ensure that the image is displayed correctly on all devices.
Compressing images reduces the file size of the image without sacrificing quality, making them faster to load. It’s important to strike a balance between image quality and file size, as images that are too compressed may appear pixilated or blurry.
Various Angles Photo shoot
Capturing your product from various angles is an essential technique in product photography. Different angles can provide unique perspectives and highlight different aspects of the product, giving potential customers a more comprehensive view and understanding of the product.
One of the most common angles used in product photo is the straight-on shot. This angle provides a clear view of the product and is ideal for showcasing the product’s details and features. It also helps to create consistency across all product images, making it easier for customers to compare products.
Another popular angle is the 45-degree angle, which is used to create a sense of depth and dimension in the image. This angle can show the product’s height, width, and depth and is ideal for showcasing three-dimensional products such as jewelry, clothing, and footwear.
Overhead or top-down shots are another popular angle in product photography, particularly for food and beverage products. This angle provides a unique perspective and can showcase the product’s shape, texture, and details from above.
Finally, using various angles in product photography is a powerful technique. It allows you to showcase the product’s unique features and create engaging images that capture customers’ attention. Different angles can create a sense of depth and dimension, highlight the product’s details, and provide a more comprehensive view of the product. By using a combination of angles in your product photography, you can create a compelling visual narrative that drives sales and attracts potential customers.
Summary of product photography tips
- pay attention on lighting
- Use tripods
- Use props
- Use product image optimization
- Use various angles
Conclusion
In conclusion, product photography is a crucial aspect of e-commerce and marketing. By creating high-quality images that showcase your products in the best possible light, you can attract more customers, increase engagement, and drive sales.
We discussed several product photography tips, including lighting, tripod use, props, image optimization, and angles. By implementing these techniques, you can create images that are visually appealing, informative, and engaging for your customers.